The following process outlines installing ESXi 6.0 remotely on an HP ProLiant Gen9 server. The server used in the following example is an DL360. It is using an internal USB flash drive for it's peristant ESXi installtion.
-
Download the HP Customized ESXi installer at the following link VMware ESXi 6.0 Installable HP Customized ISO Image.
-
Find the Hostname, Username, and Password for the iLO device.
This can be found by pulling the front pull-out tab from the server. The tab has a I on the front. 
-
Determine the iLO's Ethernet IP address.
The iLO's default IP configuration is set for DHCP. Its address can be determined by plugging it into a network with a DHCP server, then pinging by its host name. If a DHCP server is unavailable, a static IP address can be set locally through the standard console.
-
Login to the iLO 4 web interface through a web browser.
Open a browser and enter the iLO URL, https://ipaddress. 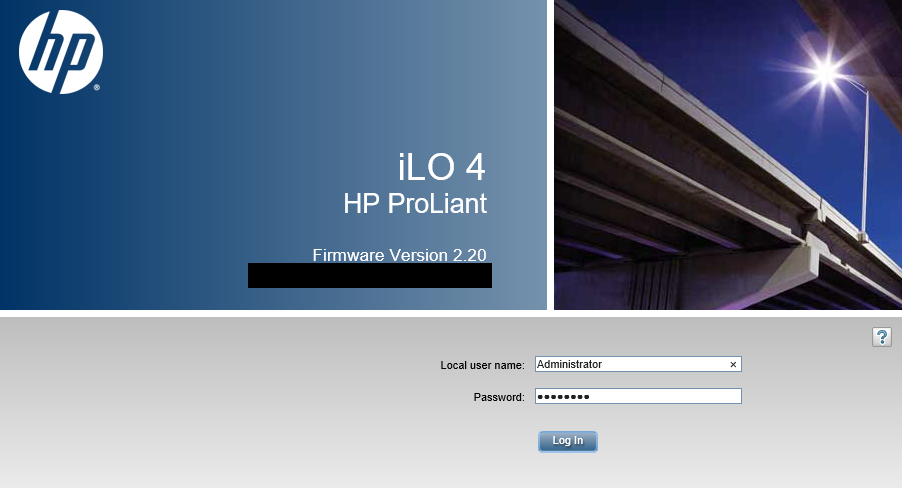
Once logged in, you will be presented with the iLO Information Overview screen. 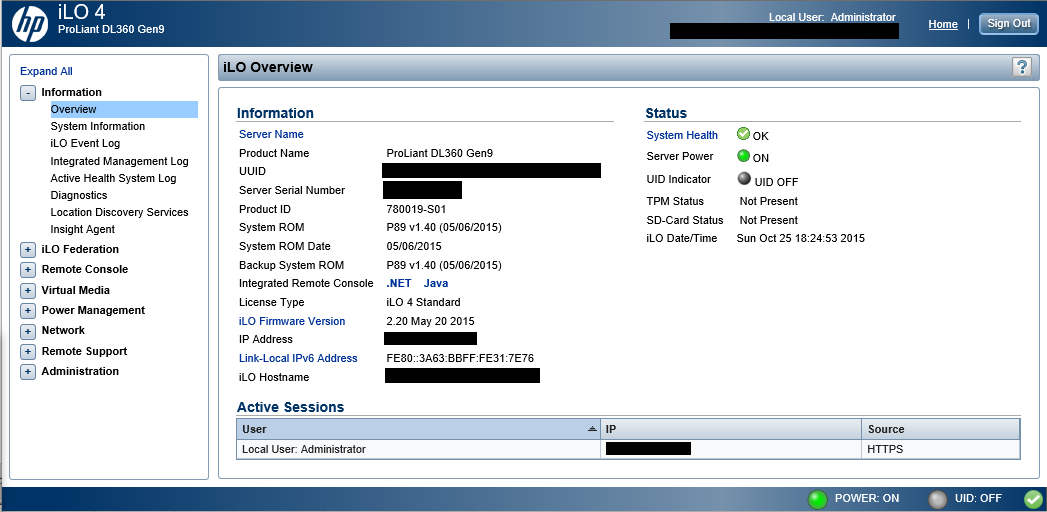
- Open The Remote Console.
In the left pane navigation pane, expand Remote Console, Select Remote Console, and then finally select Launch in the right pane. 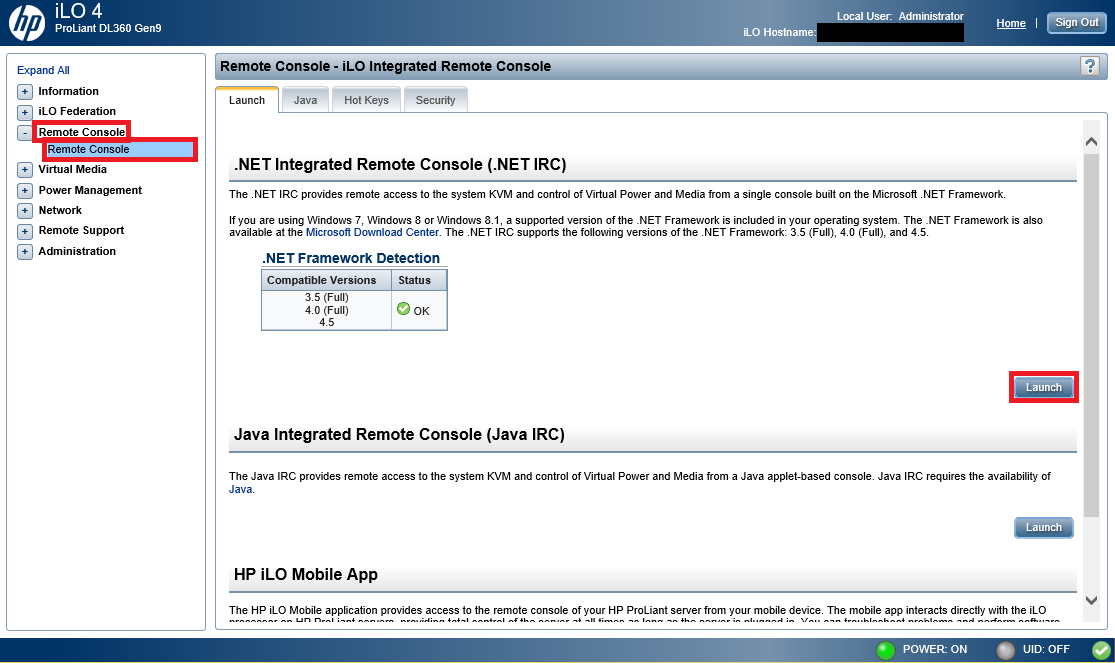
You may need to confirm running the Integrated Remote Console application.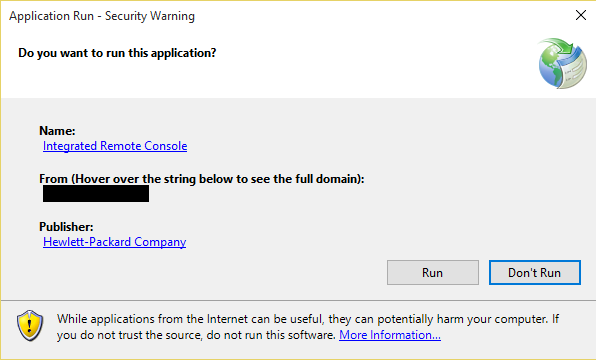
The Integrated Remote Console application will load. 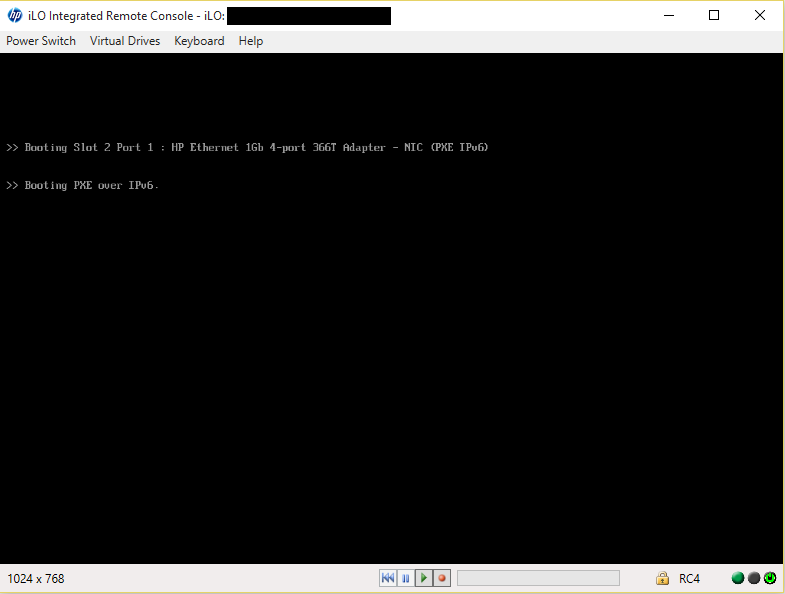
-
Mount ESXi Install Media.
Click Virtual Drives then Select Image File. 
Browse to the ESXi VMware ESXi 6.0 Installable HP Customized ISO Image that was downloaded in Step 1 and select open.
-
Restart the server.
Select Power Switch, then Click Cold Boot. 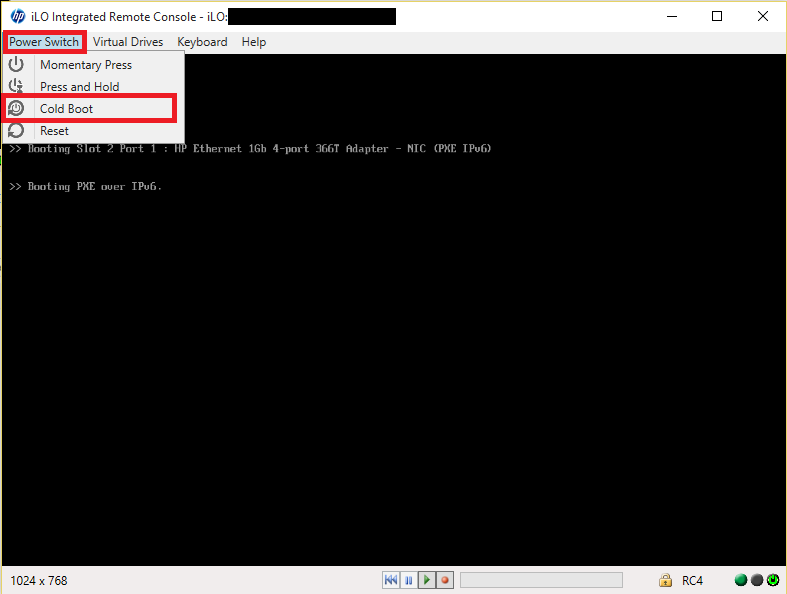
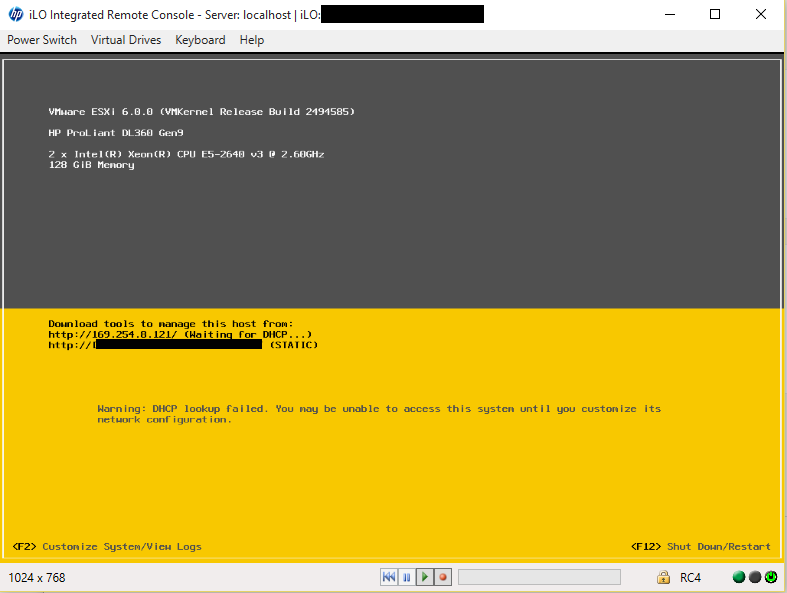
The server will restart and load the ESXi installer.
- Install ESXi.
Press Enter to start the installer. 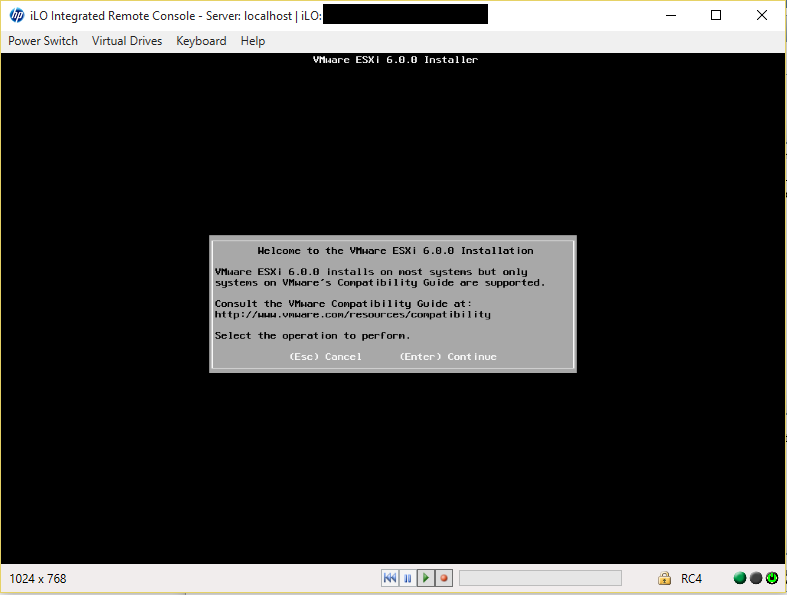
Press F11 to accepts the End User License Agreement. 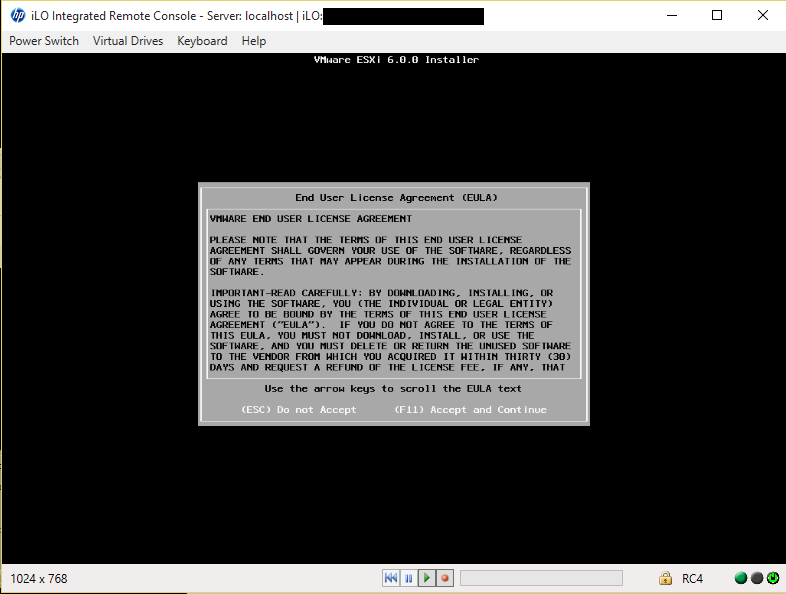
Select the install location. In the example ESXi will be installed on an HP flash drive, HP part number: 726718-S21. 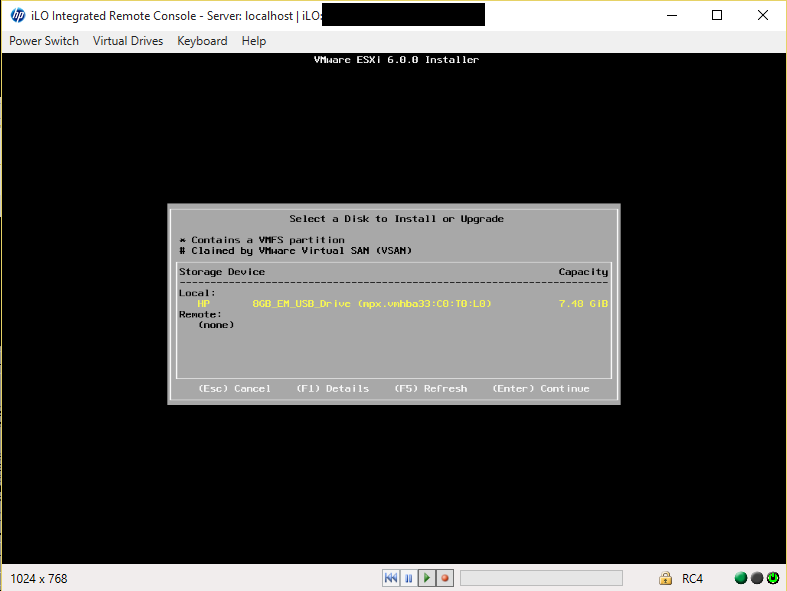
Confirm erasing the flash drive. 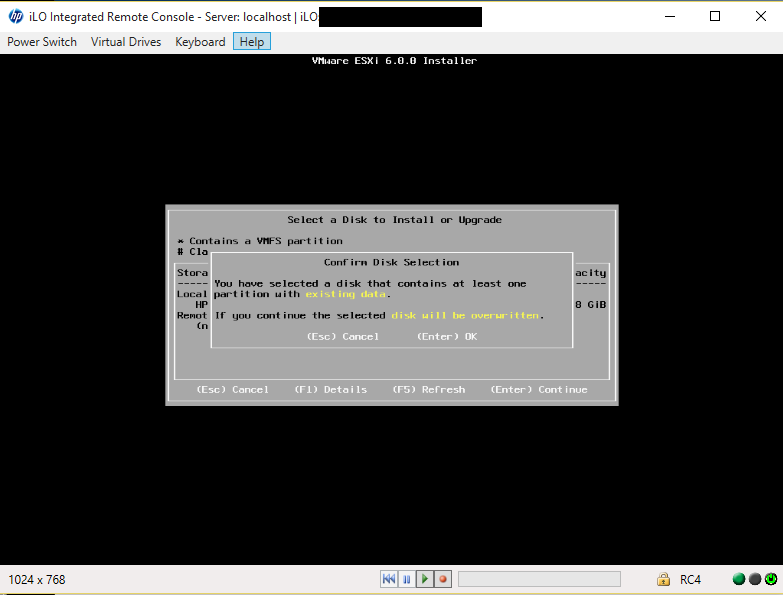
Set preferred language. 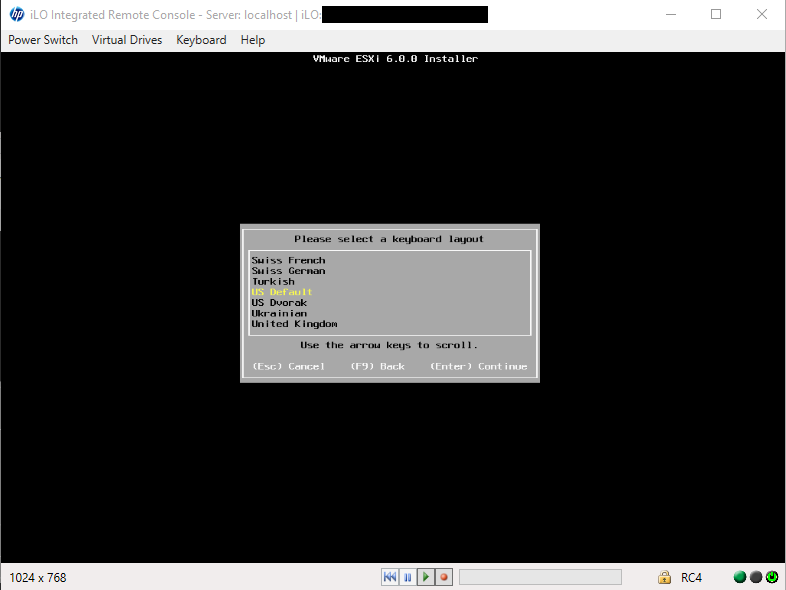
Set root password. 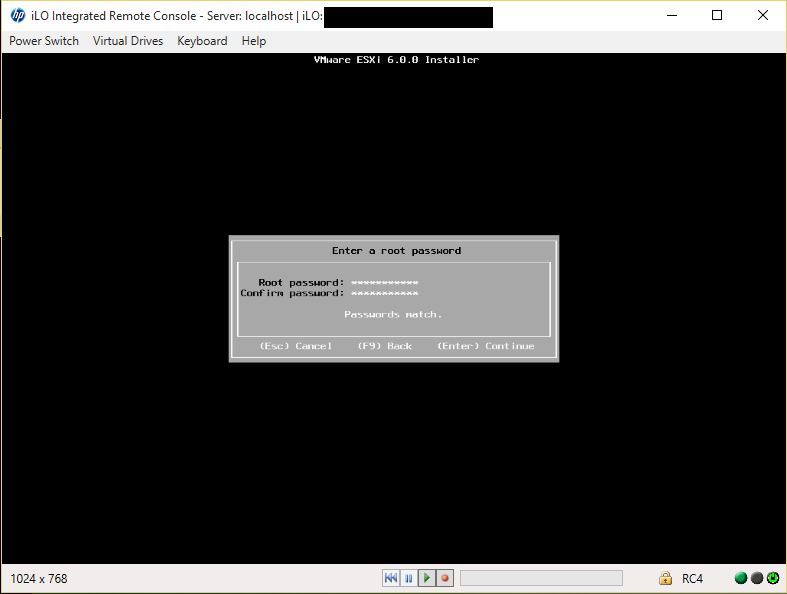
Press F11 to initiate the install. 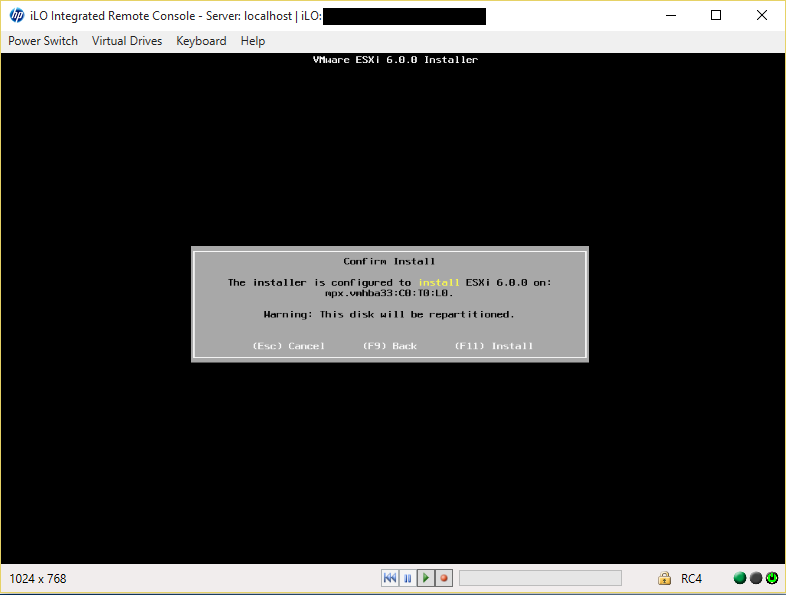
Once the install has successfully completed, Press Enter to reboot the server. 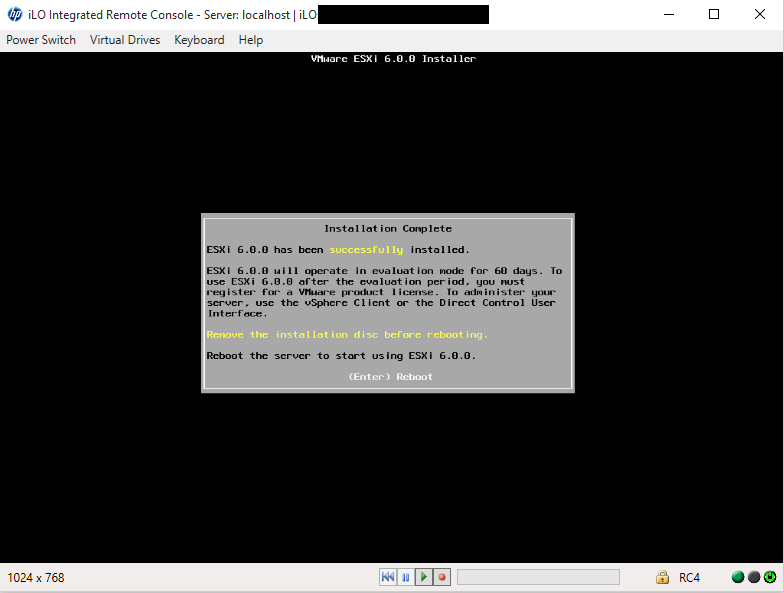
A confirmation message will be displayed. 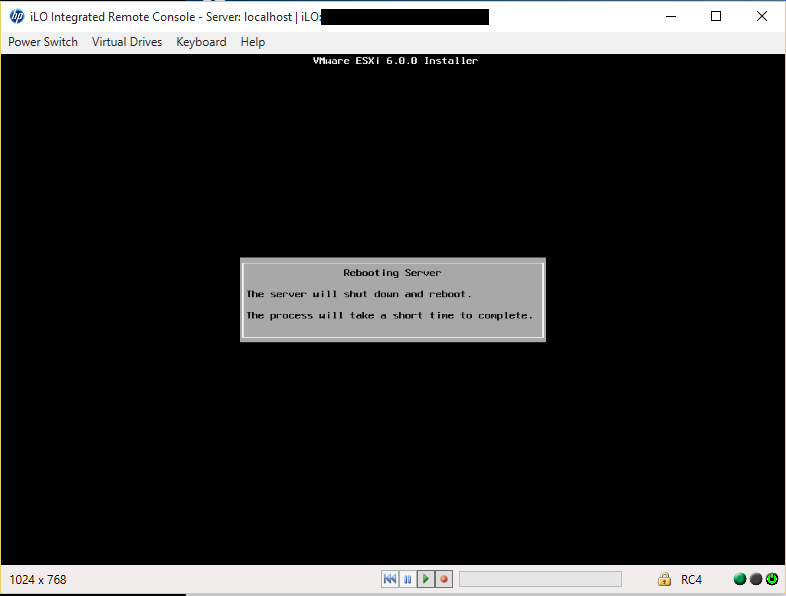
- Congratulations! ESXi has been successfully installed.