VMware

VMware vCenter Server Appliance Deployment Hung: Installed iPXE-1.0.0-1.2882051.vmw.i686.rpm

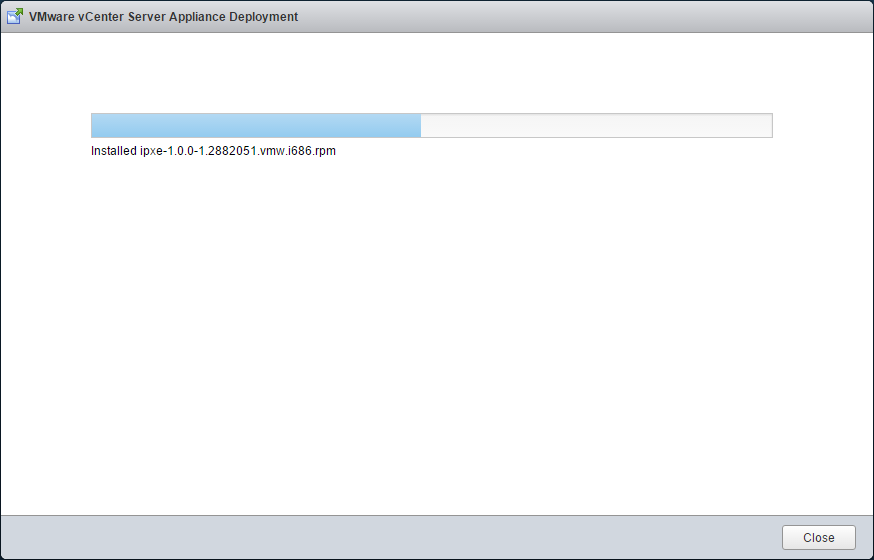
When installing an instance of a VMware vSphere vCenter Server virtual appliance, version 6.0 Update 1, I ran into an issue who's cause wasn't very apparent. While deploying the vCSA through Google Chrome, the process hung at the following step: Installed iPXE-1.0.0-1.2882051.vmw.i686.rpm.

vCenter Server Deployment error: Installed iPXE-1.0.0-1.2882051.vmw.i686.rpm

The deployment log files are located at: C:\Users\vmwareUser\AppData\Local\VMware\CIP\vcsaInstaller\sessions\session_0004\logs. The logs gave no indication of the problem.

This was ultimately due to an incorrect configuration within DNS. The DNS entry was not setup for the vCSA. After creating the correct DNS entry and restarting the deployment, it completed successfully.

Veeam Backup & Replication 8.0: Failed to login to <ip address> by SOAP, port 443, user "root", proxy srv: port:0

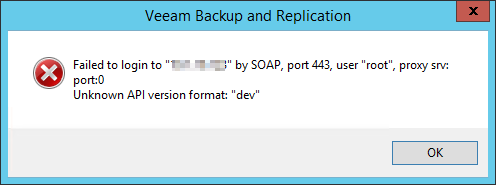
Using Veeam Backup & Replication version 8.0 with a VMware vSphere 6.0 Update 1 system I ran into the error below when trying to connect to an ESXi host -

Failed to login to by SOAP, port 443, user "root", proxy srv: port:0
Unknown API version format: "dev"

Failed to login to  by SOAP, port 443, user "root", proxy srv: port:0 Unknown API version format: "dev"

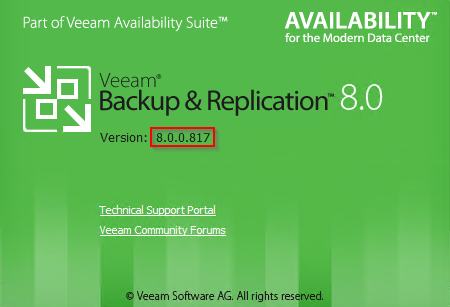
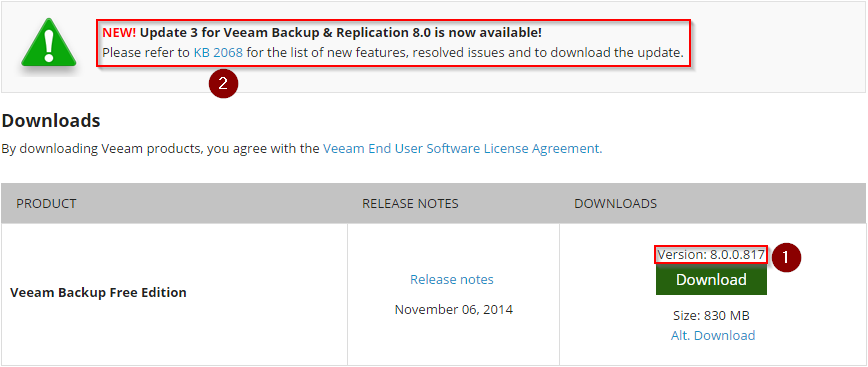
The actual version installed was 8.0.0.817.
Veeam Backup and Replication 8.0.0.817

Version 8.0.0.817 does not support VMware vCenter and ESXi 6.0, vSphere 6 support was added with Veeam Backup & Replication 8 Update 2. Update 3 is now available can be be downloaded from the following link: Veeam Backup & Replication 8.0 Update 3.

After installing the update, I was able to connect Veeam Backup & Replication 8.0 to ESXi 6.0 Update 1 hosts.

Veeam does not modify their download links as updates are released. As of today, the current downloadable version is still 8.0.0.817. Note that they do include a link to a Update 3 on the download page. If installing a new copy of Backup and Recovery for use with vSphere 6.0 products, first install Backup & Replication 8.0.0.817, then install Update 3.
Veeam Backup & Replication 8.0 Download

VMware vCSA 6.0 Update 1 nobody's password

When trying to update a VMware vCenter Server Appliance to 6.0 Update 1 via SSH, I ran into an authentication problem.

I logged into a VMware vCenter Server Appliance via SSH and tried to update it to 6.0 Update 1 by entering the following command:

Command> software-packages install --iso --acceptEulas

I was then requested to enter a password for nobody

Command> software-packages install --iso --acceptEulas
nobody's password:

The problem was that I logged in with a VMware SSO account, Administrator@vsphere.local, and actually needed to login with the vCSA's root account.

What is the nobody account?
On Unix based systems like Linux, it is an account with limited permissions.

Remotely installing ESXi with HP iLO 4

The following process outlines installing ESXi 6.0 remotely on an HP ProLiant Gen9 server. The server used in the following example is an DL360. It is using an internal USB flash drive for it's peristant ESXi installtion.

  1. Download the HP Customized ESXi installer at the following link VMware ESXi 6.0 Installable HP Customized ISO Image.

  2. Find the Hostname, Username, and Password for the iLO device.
    This can be found by pulling the front pull-out tab from the server. The tab has a I on the front. HP_DL360_GEN9_Server_Front_Info_Tab

  3. Determine the iLO's Ethernet IP address.
    The iLO's default IP configuration is set for DHCP. Its address can be determined by plugging it into a network with a DHCP server, then pinging by its host name. If a DHCP server is unavailable, a static IP address can be set locally through the standard console.

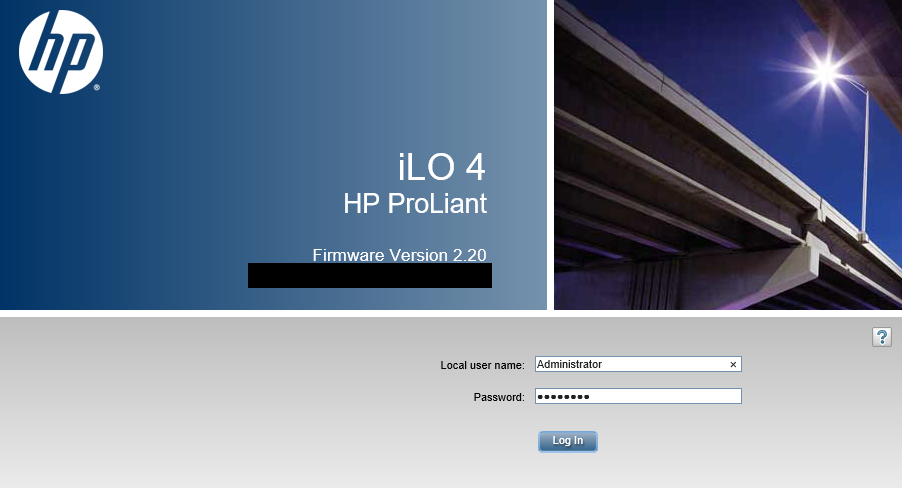
  4. Login to the iLO 4 web interface through a web browser.
    Open a browser and enter the iLO URL, https://ipaddress. HP iLO Login
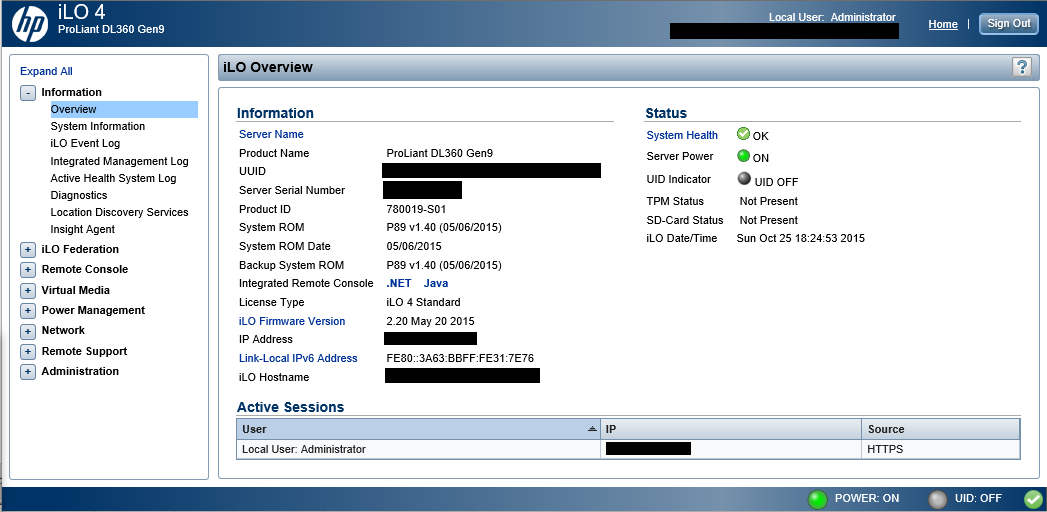
Once logged in, you will be presented with the iLO Information Overview screen. HP iLO Information Overview
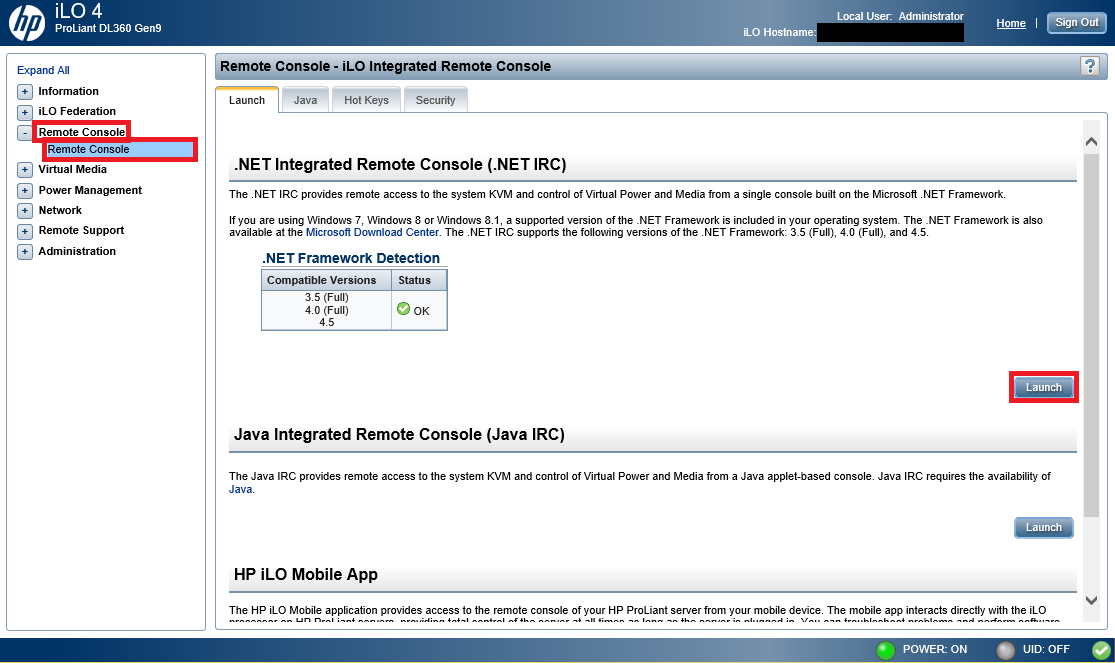
  1. Open The Remote Console.
    In the left pane navigation pane, expand Remote Console, Select Remote Console, and then finally select Launch in the right pane. Launch iLO Remote Console
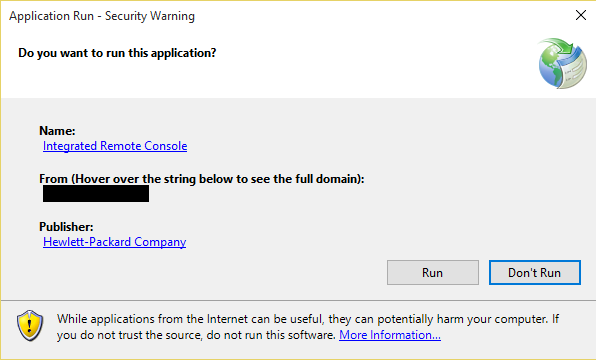
You may need to confirm running the Integrated Remote Console application.Run Integrated Remote Console application
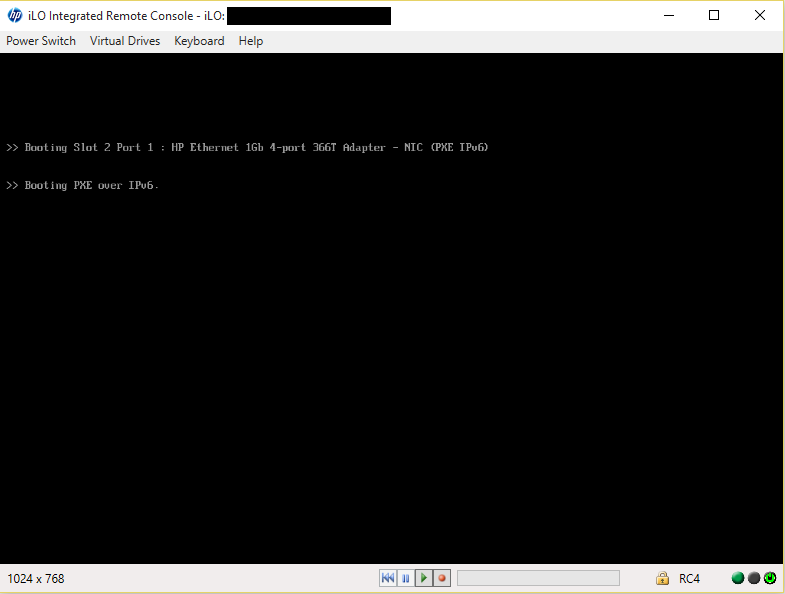
The Integrated Remote Console application will load. Integrated Remote Console application
  1. Mount ESXi Install Media.
    Click Virtual Drives then Select Image File. iLO Console Mount Virtual Drive
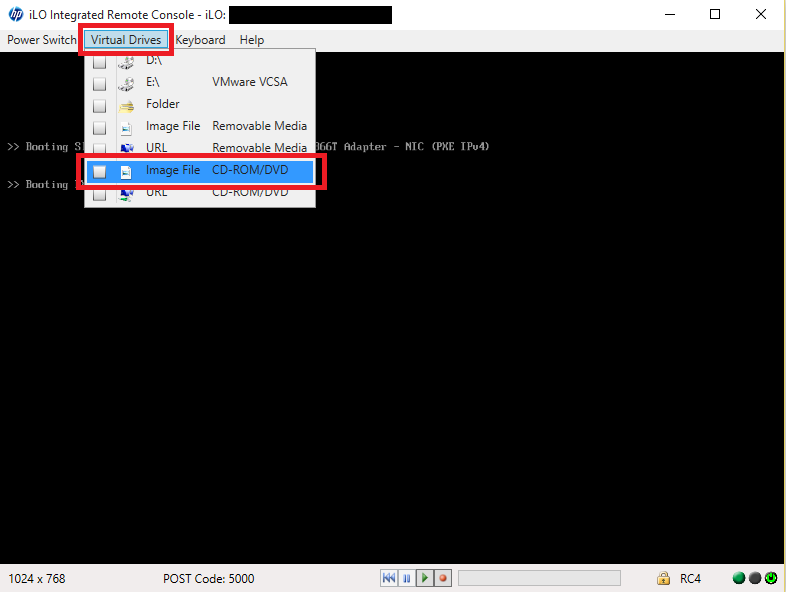
    Browse to the ESXi VMware ESXi 6.0 Installable HP Customized ISO Image that was downloaded in Step 1 and select open.

  2. Restart the server.
    Select Power Switch, then Click Cold Boot.
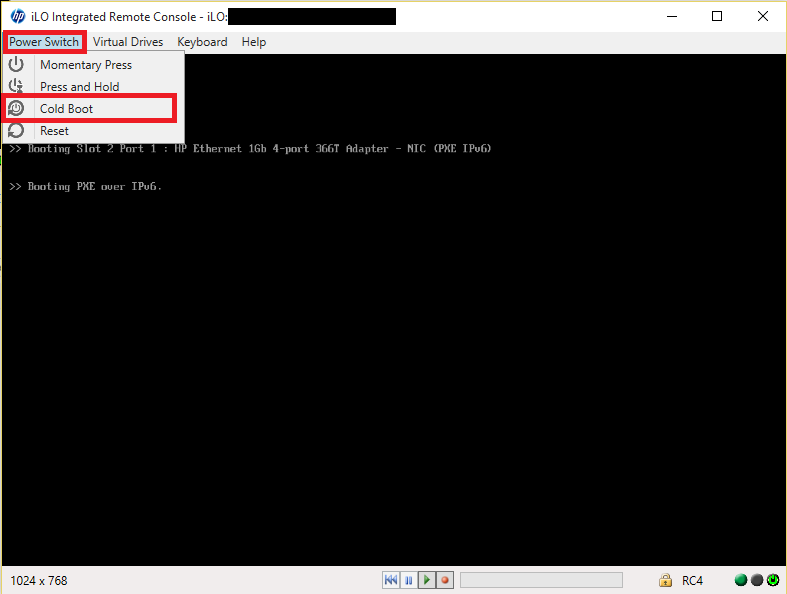
The server will restart and load the ESXi installer.

  1. Install ESXi.
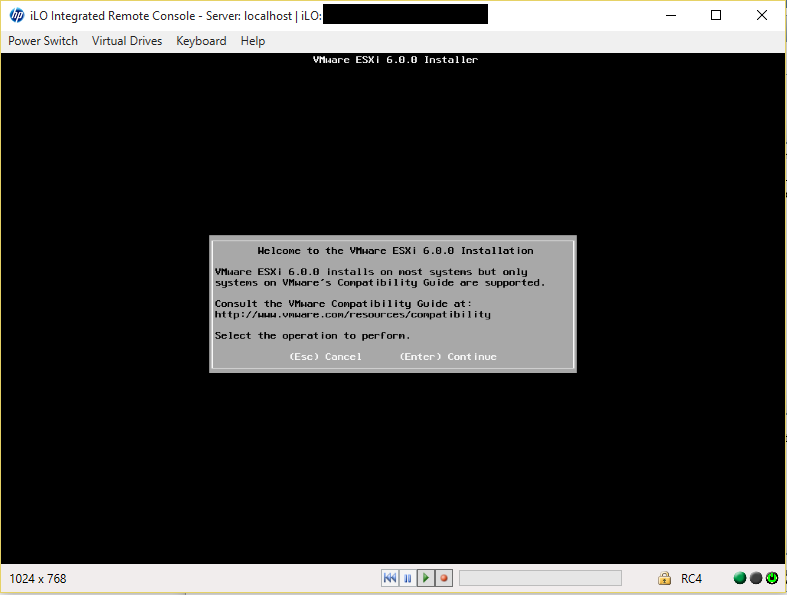
    Press Enter to start the installer. ESXi Installer Welcome
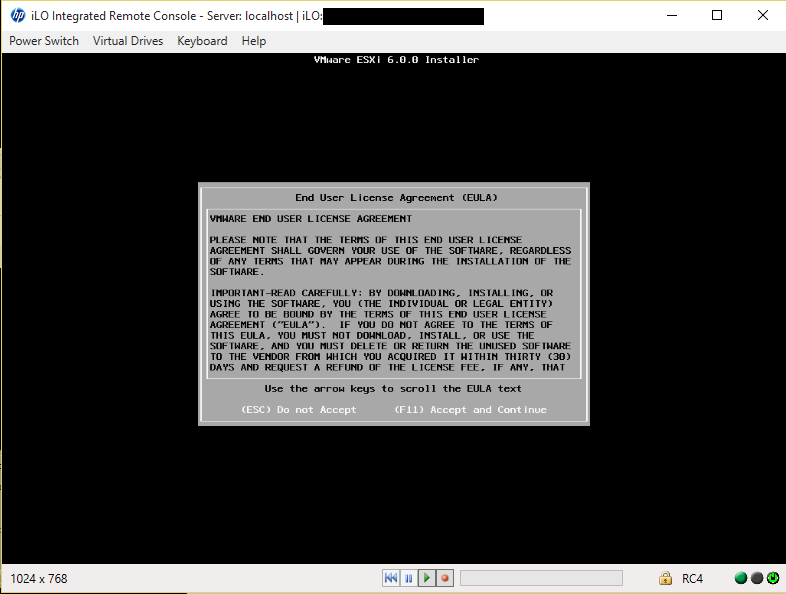
Press F11 to accepts the End User License Agreement. ESXi Accept EULA
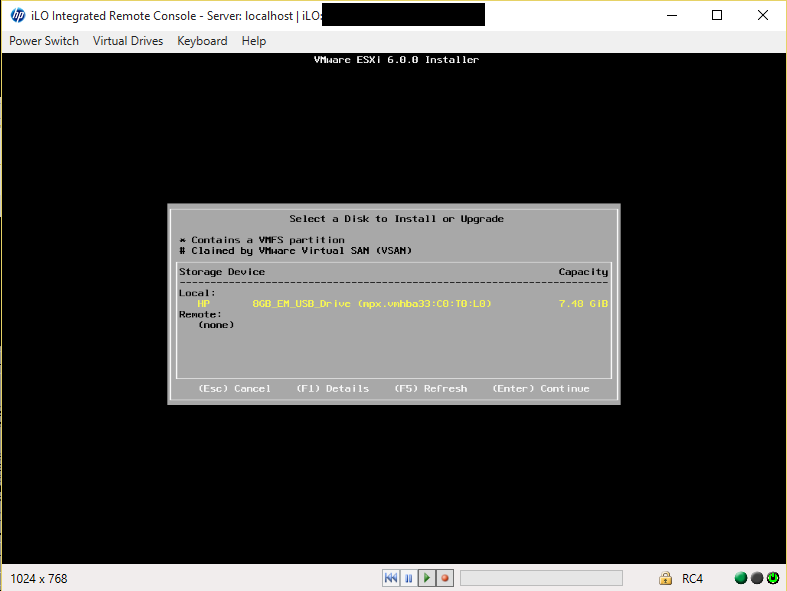
Select the install location. In the example ESXi will be installed on an HP flash drive, HP part number: 726718-S21. ESXi Installer Select Install Drive
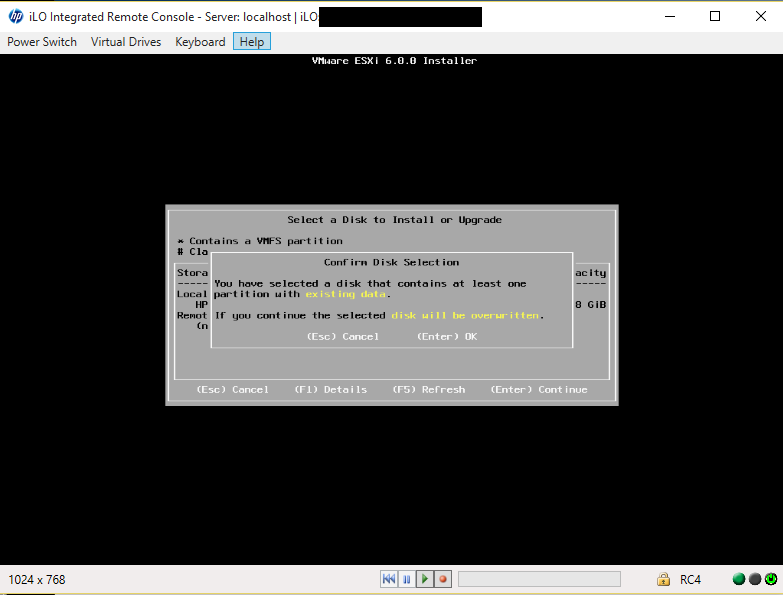
Confirm erasing the flash drive. ESXi Installer Confirm Erase

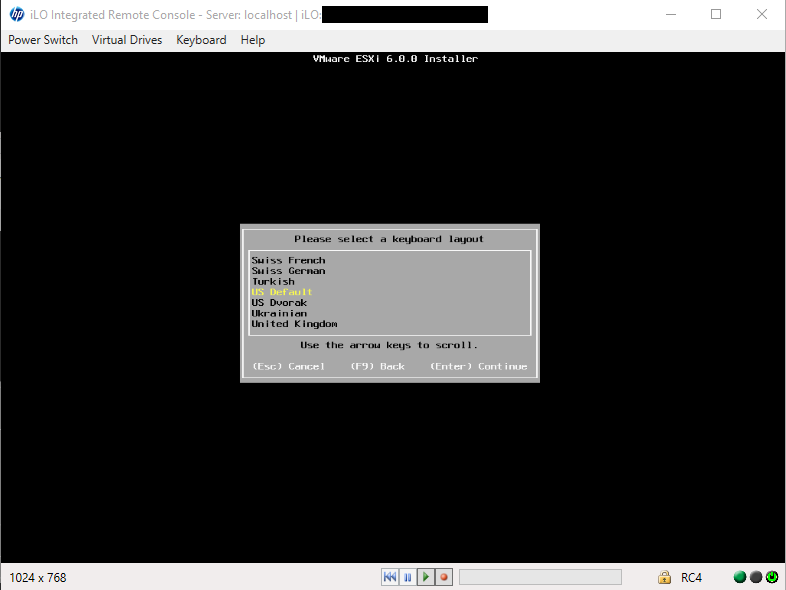
Set preferred language. ESXi Installer Set Preferred Language

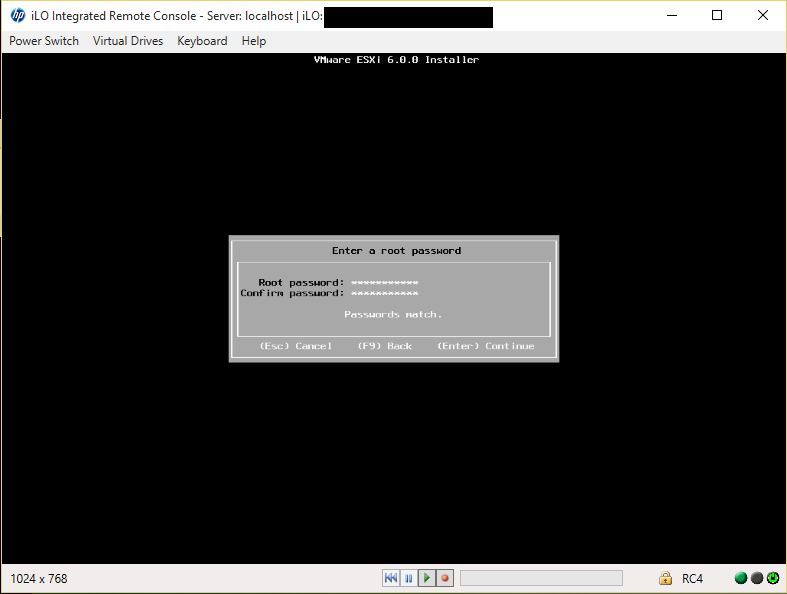
Set root password. ESXi Installer Set Root Password

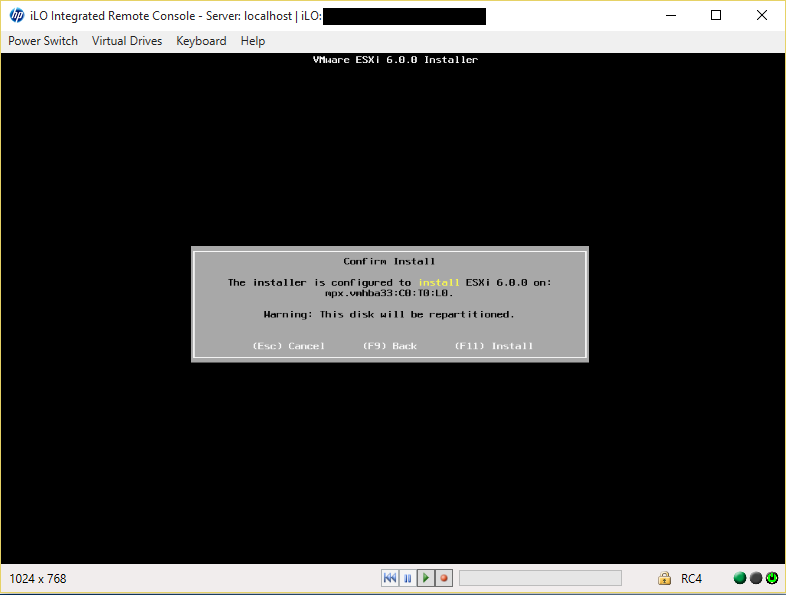
Press F11 to initiate the install. ESXi Installer Initiate Install

Once the install has successfully completed, Press Enter to reboot the server. ESXi Installer Reboot Server
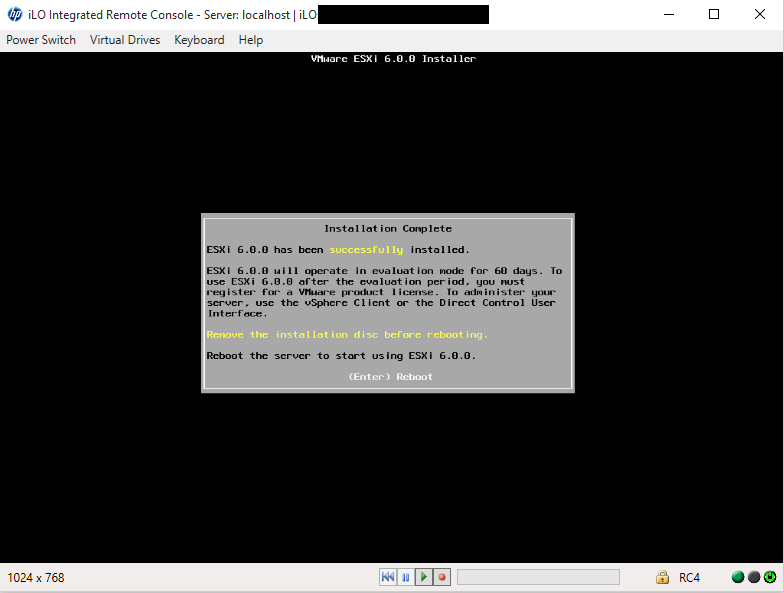
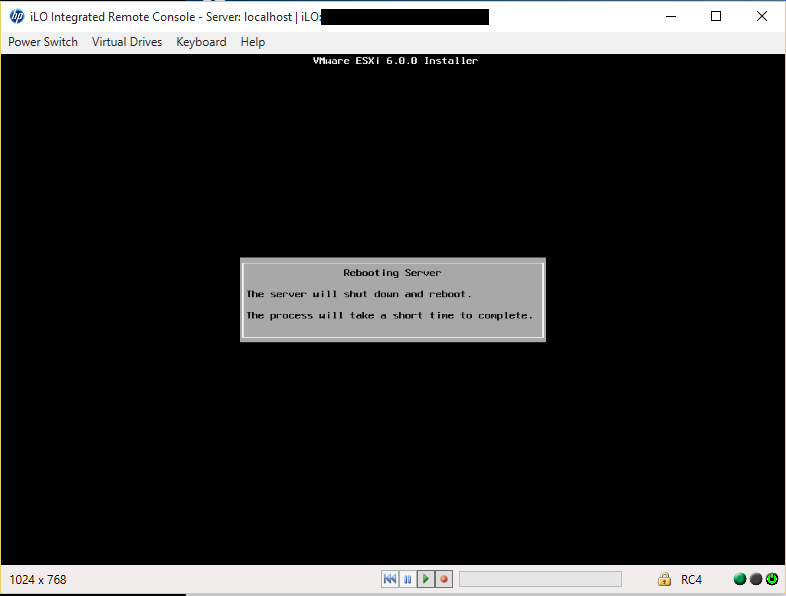
A confirmation message will be displayed. ESXi Installer Reboot Confirm
  1. Congratulations! ESXi has been successfully installed. ESXi Installer ESXi Running