The following procedure outlines the process of setting up and configuring Rockwell FactoryTalk Historian SE on Windows Server 2012 R2.
- Install the FactoryTalk Services Platform. If you need assistance, follow the link Installing Rockwell FactoryTalk Services Platform (FTSP).
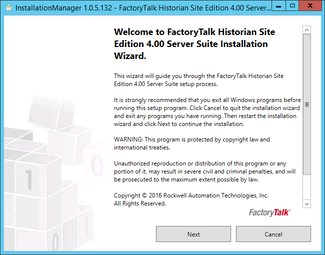
- Launch Setup.exe from the install directory
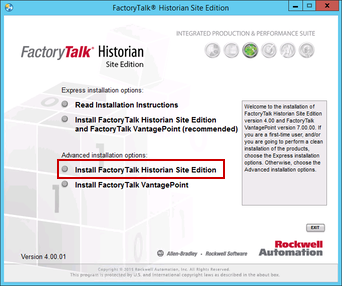
- Select Install FactoryTalk Historian Site Edition
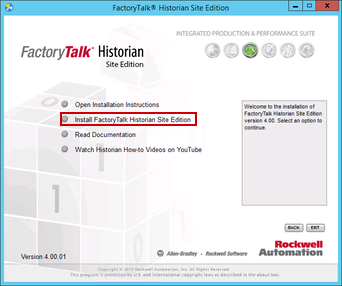
- Select Install FactoryTalk Historian Site Edition
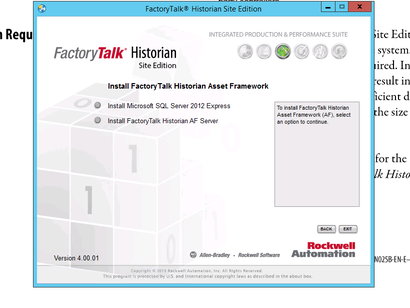
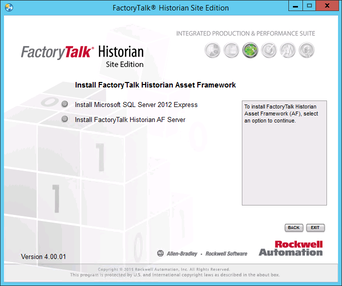
- Select Install FactoryTalk Historian Asset Framework
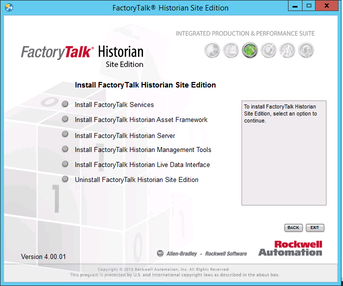
- Select Install Microsoft SQL Server 2012 Express
- Select New SQL Server stand-alone installation or add features to an existing installation
- Select the first radio button, Perform a new installation of SQL Server 2012 and then Select Next
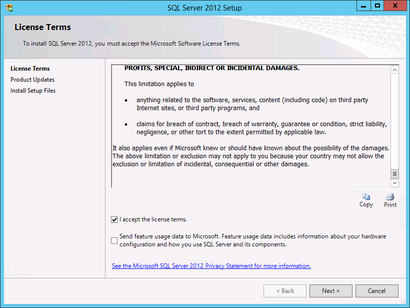
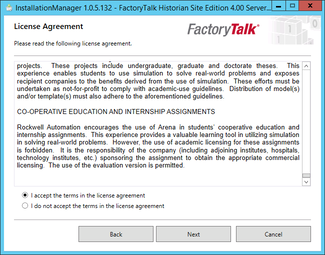
- Read the End User License Agreement, if you accept it Select Next
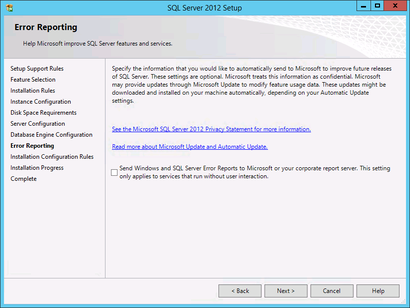
- Select all three check boxes and Select Next
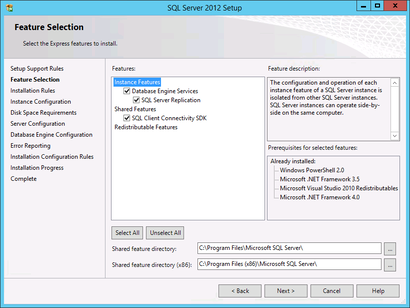
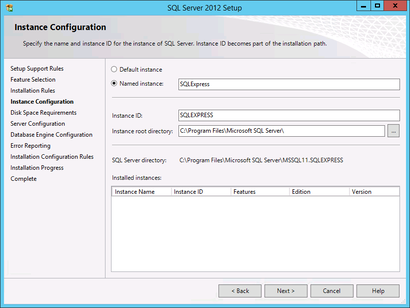
- Select Next
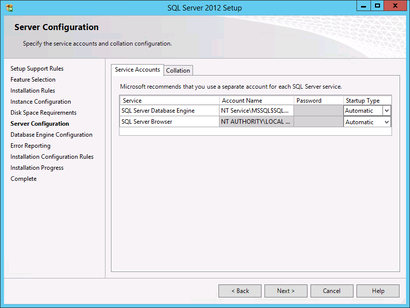
- Select Startup Type to Automatic for both services and Select Next
- Select Next

- Select Next
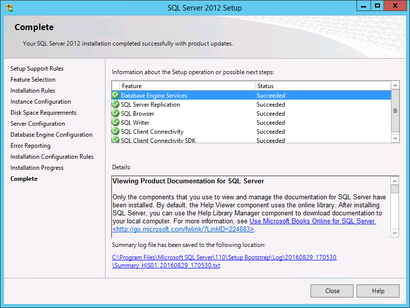
- Select Close
- Close the SQL Server Setup window
- Select FactoryTalk Historian AF Server
- Select Next
- If you accept the license agreement Select Next

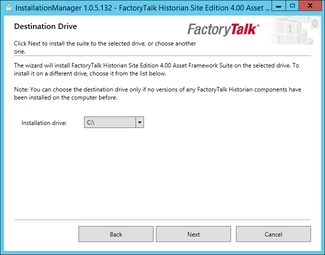
- Select Next
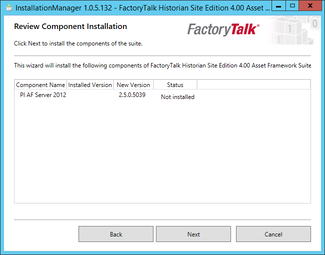
- Select Next
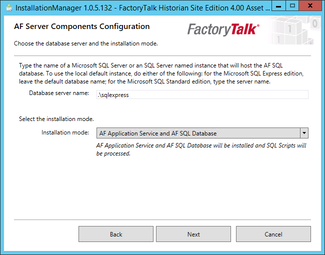
- Select AF Application Service and AF SQL Database and Select Next
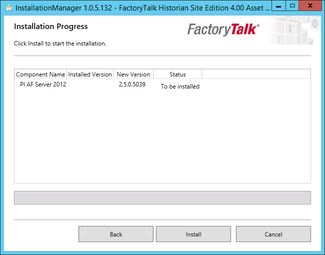
- Select Install
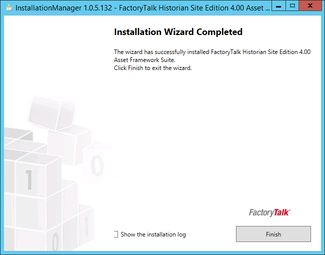
- Select Finish
- Select Back
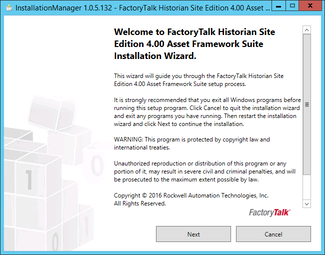
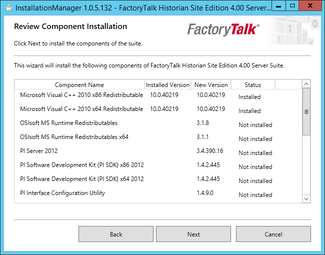
- Select Install FactoryTalk Historian Site Edition
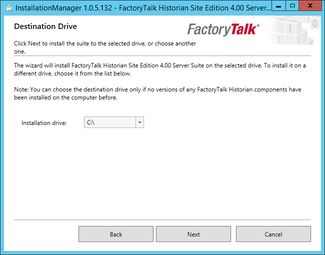
- Select Next
- Select Next
- Enter User Name, Organziation, Serial Number, and Select Next
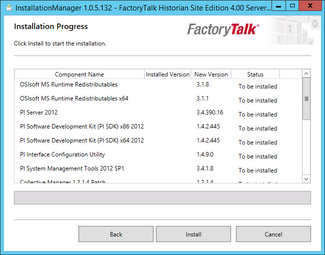
- Select Next
- Select Next
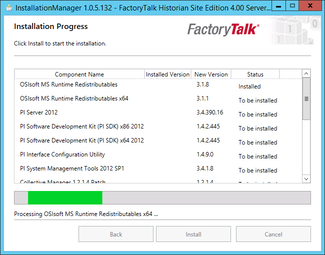
- Select Install
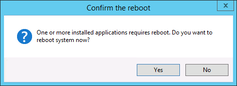
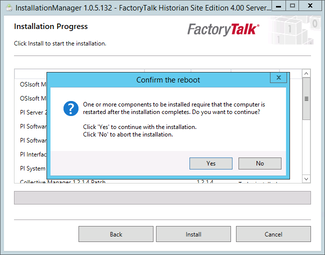
- You may be warned that the server will need to be restarted after installation, if this is acceptable Select Yes
- Wait for the install to complete
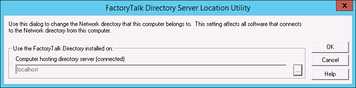
- Select OK to stay in the existing FactoryTalk Directory
- Select Finish
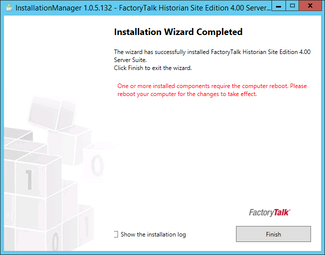
- You may be prompted to restart the server, if this is acceptable Select Yes